This summer I did a lot of experiments with mounting transferprints on panels and sealing them with with every varnish, glaze and UV protectant ever invented. And in the end, wondering why I was trying to make paper be something other than what it is, I’ve gone back to tradition: the print floating in a pristine field of luscious, deckled rag white.
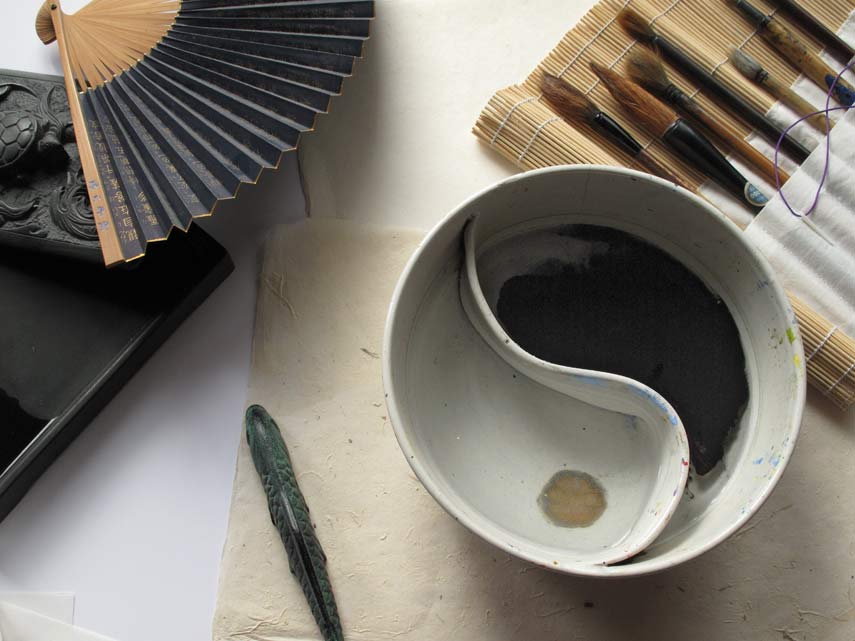
I realize why I had avoided it. It’s ridiculously difficult! The Arches is soaking wet with gel alcohol, the plate is flimsy and wants to buckle, and it is ready to deliver ink the second it touches down. You can’t hinge the plate to the paper because usually it is smaller than the paper, and tape will tear the surface anyway. I recalled from my other life as a calligrapher that one cannot do the character for Mujo perfectly without doing several thousand imperfect ones and throwing them away. And one can’t load the brush without ink, which must be ground, and then one must meticulously prepare the workspace with felt and weights so the fragile ricepaper does not fly away. All this preparation may take an hour. And without it, torn and blotted paper, ink that dries to pale whispers, and a profound sense of being out-of-groove.

Printmaking groove requires the same precision and attention. Several years ago I visited Stephen Hazel at his Studio Blu, and the laboratory glare of perfection made me gasp. I don’t think there was dust anywhere in his zipcode. Thank you Stephen, for reminding me of the importance of order. Process = product.
To deal with the problem of the plates being smaller than the paper I bought large sheets of frosted mylar, which I hinged to my drafting table (which I covered with large sheet of plex.) I then drew various grids on the frosted side so I could position the plates, face up, to flop into correct position with even borders. I made an egregious technical error on one set-up, which was to place the plate on the frosted side, so the frosted mylar came into contact with the gel alcohol. The finish comes off over time and leaves a strange matte residue on the paper.
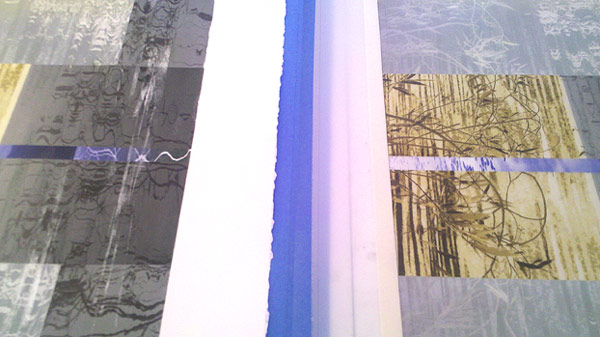
Hinging solves a lot of problems but not all. The deckle of a full sheet allows for some out-of-square possibilites, and I have to be very careful about how the paper lines up along the edge of the carrier sheet. The only tape I found that could reliably hold the hinge without going out of square after awhile was blue painter’s tape. Masking tape peels off the plexiglass and acetate too easily. And then…there is dirt. Hairs from the brush. Eyelashes, flywings, whatever can fall on that damp border of white paper will. I believe this is why the word “edition” means “pain” in certain languages, just as “danger” is supposed to equal “opportunity” at least according to those t-shirts at duty-free shops in Tokyo. Below, a finished print on the left, lined up to register with hinged plate on mylar on the right. *This was a quick photo and the finished print is placed upside down. It should mirror the plate.
Here is the first print done this way, not perfectly even borders, but getting close:


Leave a Reply